Chalk Split Number -7: A Designer’s Real-World Embroidery Review
Let’s be honest—I opened Chalk Split Number -7 expecting something playful, maybe a little rustic. What I got was a quiet confidence: clean split-letter geometry softened by chalky texture, with just enough irregularity to feel handmade—not sloppy, not overworked, but intentionally human. As a designer who ships embroidered tote bags, baby onesies, and boutique kitchen towels every week, I don’t reach for fonts that shout. I reach for ones that settle in, hold attention without demanding it, and stitch like they mean it. That’s exactly what Chalk Split Number -7 does.
First Impressions: Mood, Shape, and Where It Naturally Lives
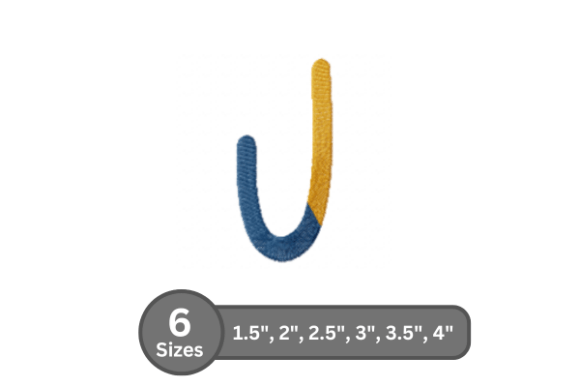
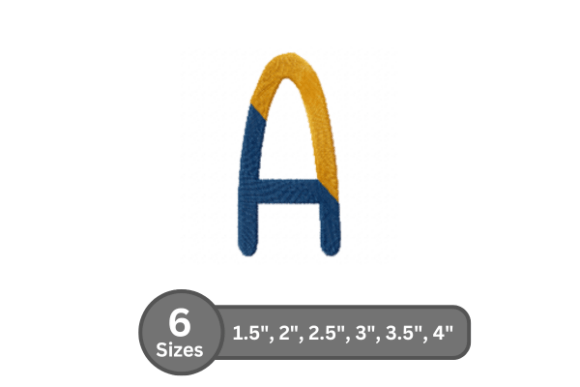
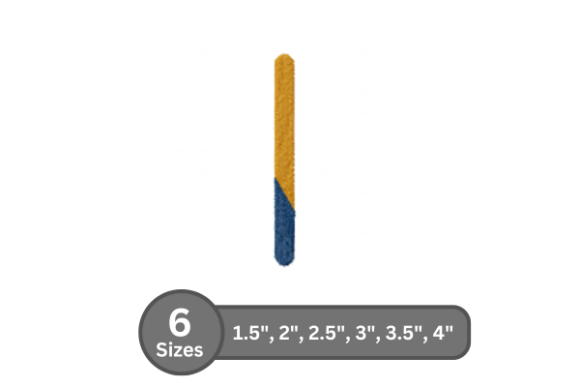
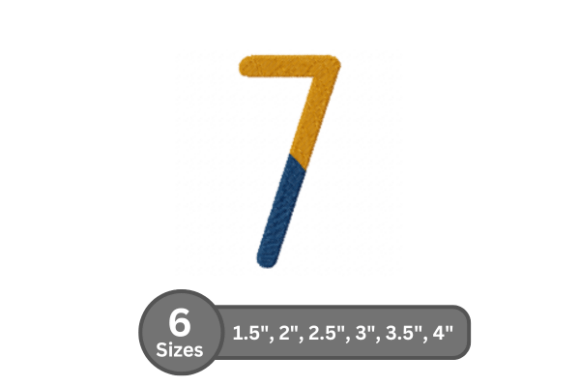
This isn’t a monogram font built for crowns and flourishes—it’s built for moments: a child’s first birthday towel, a minimalist apron for a local coffee roaster, a set of linen pillow covers for a wedding gift suite. The “split” in the name isn’t just visual—it’s structural. Each number has subtle negative space down the center, like chalk drawn on slate then gently smudged at the edges. That gives it breathing room, even at small sizes. And because it’s digitized as a fill stitch embroidery font—not satin or running stitch—it holds density without looking heavy. No jagged edges. No thread nests in corners. Just smooth, consistent coverage that reads clearly from three feet away.
Real-Life Test: Stitching It on a Linen Tea Towel
Last Tuesday, I used Chalk Split Number -7 to embroider “2024” on a heavyweight natural linen tea towel—part of a limited holiday collection for my Etsy shop. I paired it with medium-weight cutaway stabilizer (no tear-away here—linen shifts), 40-weight cotton thread in charcoal gray, and stitched at 85% speed. Result? Crisp definition, zero puckering, and that soft chalk texture translated beautifully into stitch. Customers noticed—not because it screamed, but because it felt intentional. One buyer messaged: “It looks like someone wrote it by hand, but perfectly.” That’s the sweet spot.
Where It Shines (and Where to Pause)
Shines best on:
- Custom apparel—especially sweatshirts and structured cotton totes where fill stitch adds subtle dimension without stiffness
- Baby embroidery—the gentle shape feels warm and age-appropriate on onesies or burp cloths (just avoid tight necklines unless you test hoop clearance first)
- Holiday embroidery—think “2025” on a wool-blend stocking or “7” on a vintage-style advent calendar pouch
- Embroidered patch—it scales cleanly down to 1.5” height and still reads as cohesive, not pixelated
- Small shop product—ideal for branding consistency across a line of handmade products, especially when paired with a neutral sans-serif for supporting text
Use carefully on:
- Stretchy fabric—like jersey or ribbed knit—unless backed with firm stabilizer and tested at full garment tension
- Thin or sheer fabric—the fill stitch density may show through; consider reducing density manually or switching to a lighter-weight version if available
- Curved surfaces—caps and beanies need re-hooping mid-stitch for numbers this wide; plan for slight distortion at the crown unless using a cap frame
- Dark fabric with light thread—chalk texture relies on subtle tonal variation; on black fabric with white thread, test contrast first—you may want off-white or heather gray instead
What It Does for Your Handmade Product—and Your Customer’s Trust
Here’s what I’ve learned after five years selling embroidered goods: people don’t buy stitching—they buy feeling. Chalk Split Number -7 delivers quiet sophistication. It doesn’t compete with your product’s material or color story; it complements it. On a cream-colored apron for a bakery client, it read as artisanal—not craft-fair-cute. On a navy sweatshirt for a small-run podcast merch drop, it added weight without bulk. That kind of subtlety builds trust. Buyers assume care went into the details—even if they can’t name why.
For Etsy sellers and craft fair vendors, that matters. A well-digitized machine embroidery design like this one reduces returns, increases repeat orders, and makes your printable mockup look authentic—not like a stock template slapped on. It also supports brand consistency across physical and digital touchpoints: same number style on your website banner, your packaging stamp, and your embroidered tote bag design.
Practical Notes Every Embroidery Designer Should Check
Before sending Chalk Split Number -7 to your machine—or listing it as part of a digital embroidery file bundle—do these six things:
- Test on scrap fabric matching your final project’s weight and weave—not just cotton broadcloth
- Check thread color contrast in natural light and under your shop’s display lighting
- Review stitch density visually in your software—if it looks overly dense in the center of “8” or “0”, consider adjusting underlay or reducing fill angle
- Confirm hoop size compatibility, especially if layering with other elements (e.g., a small icon beside the number)
- Inspect small details like the split in “3” or the curve termination in “9”—they should stitch cleanly, not taper to a single thread
- Verify licensing before selling finished items or bundling with other design assets; commercial use isn’t automatic unless stated
And one more thing: try it in a black-and-white mockup first. If it reads cleanly there, it’ll hold up anywhere—from a sunlit Instagram flat lay to a dimly lit craft fair booth.
Final Thought: Not Just Another Number Font
Chalk Split Number -7 won’t replace your go-to block numerals for high-impact logos—but it *will* become the quiet backbone of your most thoughtful projects. It’s the number you choose when personalization matters more than prominence. When “7” isn’t just a digit—it’s the year your shop launched, the number of family members stitched onto a picnic blanket, or the age of a child whose name lives beside it in delicate script. That’s the power of a well-made embroidery file: it doesn’t just decorate. It connects.